Dura Ace 9000 Front Derailleur Limit Screws
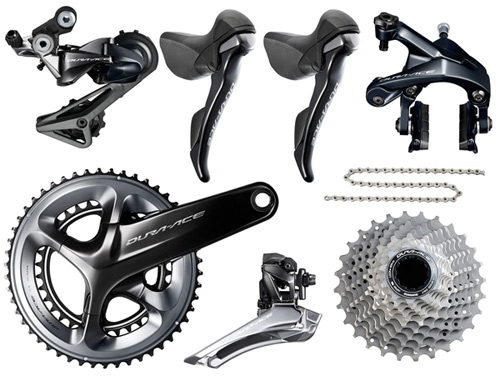
Review Shimano Dura Ace 9000 Groupset Road Cc

Shimano Dura Ace 7900 Group Review Bikeradar

Shimano Dura Ace R9200 12 Speed For 2021 Rumours Predictions Bikeradar

Shimano Dura Ace 9000 Component Group Install Notes First Impressions Bikerumor

Besting Best Dura Ace 9100 Mechanical Rkp

Dura Ace 7900 Front Derailleur The Tall Cyclist
Quick guide for installing or right alignment of the front derailleur 1st video of 9000 derailleur how to put properly and to use our judgement tool.
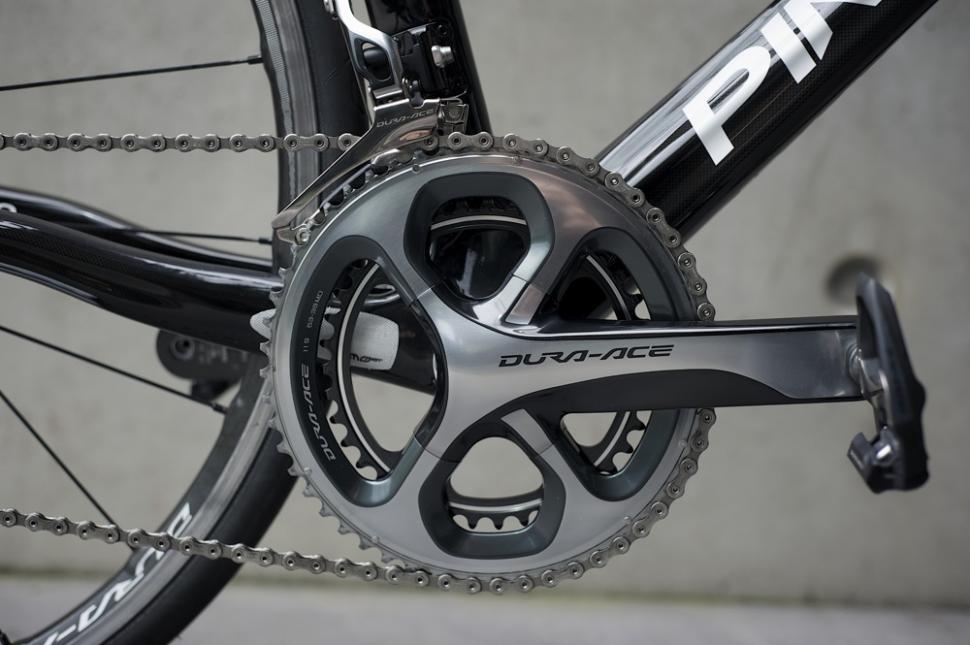
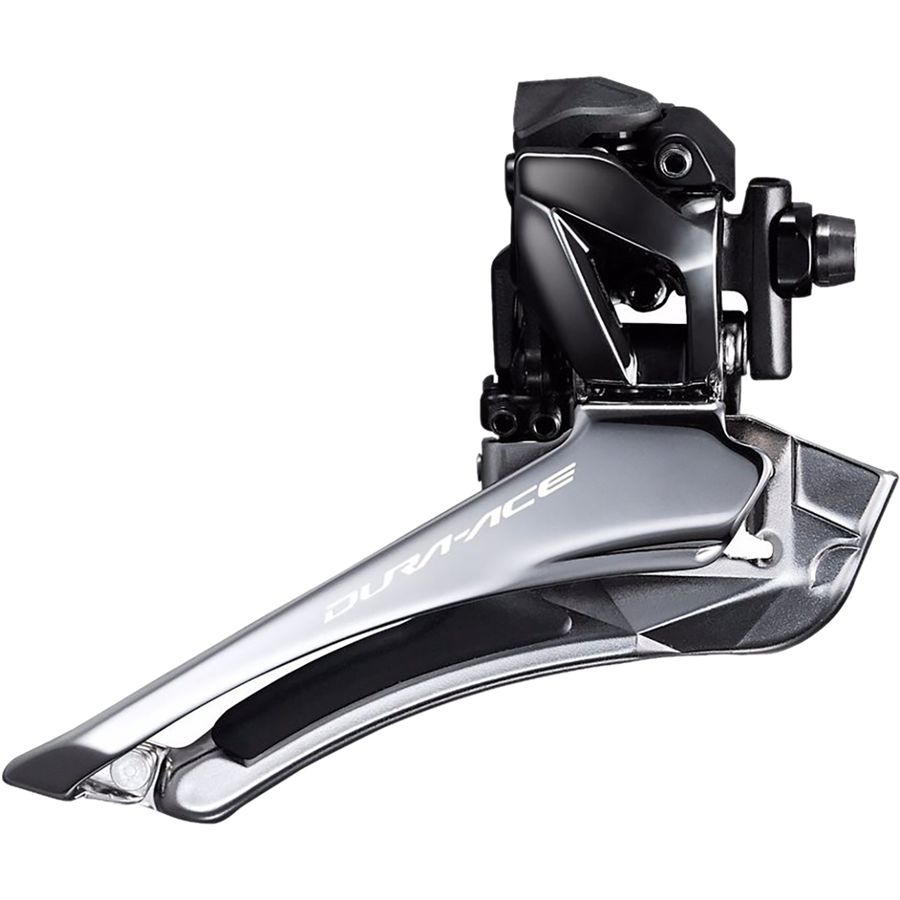
Dura ace 9000 front derailleur limit screws. Low adjustment screw and align the front end of the outer plate of the chain guide parallel to the surface of the largest chainring. At this point the rear bottom of the front derailleur s outer cage plate should be about 1 2 a millimeter inboard of the large chainring. Dura ace 9000 front derailleur converter tool tl fd90. The front derailleur maintains its compact and smooth appearance for the dura ace r9100 series.
Front derailleur fd 9000 fd 6800 fd 5800 fd 4700. Before checking limit screw adjustments check the derailleur positioning. Shimano dura ace r9100 front derailleur fitting guide mounting bolt 5 7nm 5mm hex pinch bolt 6 7nm 4mm hex if you found the video helpful and would like. Shimano dura ace fd 9000 front derailleur support bolt and plates round and flat type y5nf98030 models in store one size.
If the derailleur is too low it may scrape against the chainrings or jam the chain when shifting. Shimano actually recommends using an allen wrench as a guide hence the image above. If the chain won t go into first gear the biggest cog you need to turn the l limit screw anti clockwise to allow it to move further. The 11 speed dura ace di2 rear derailleur ensures ergonomic stable and effective shifting without stress thanks to a low profile design and shimano shadow rd.
Shift the rear derailleur into the top gear 1 and turn the top limit screw until the outer plate is within 0 0 5mm of the outside edge of the chain. At this point adjust the chain guide so that its rear end is 0 5 1 0 mm inside. Then shift through all the gears and check your work. Sram rival1 rear derailleur cable anchor limit screw kit 11 7518 061 000 models in store one size.
Adust the lower limit screw until the outer plate is parallel and directly inline with the large chainring. Thanks to its clever design it can handle a cassette range of 11 30. Now press and hold the button on your junction box a until the led next to it lights up red.

Workshop How To Set Up Shimano Ultegra Dura Ace Bikeradar

Hands On Bike Shimano Dura Ace 9000 Vs R9100 Crankset
Shimano Dura Ace Fd R9100 11 Speed Front Derailleur Backcountry Com

Stress Test Shimano Dura Ace 9000 Long Term Review Velonews Com

Shimano Dura Ace R9100 R9150 And R9170 The 6 Coolest New Things Bikeradar

Shimano Dura Ace R9100 Braze On Front Derailleur Fitting Guide Youtube

Shimano Dura Ace R9200 12 Speed For 2021 Rumours Predictions Bikeradar

Bespoke Cycling Blog

Shimano Dura Ace Di2 9070 First Ride Bikeradar

Cable Routing And Tension Dura Ace 9100 Front Deraileur Youtube
Save Up To 60 Off Shimano Dura Ace Da R9100 Dura Ace 9100 Road Bikes Titanium Road Bikes Roadbikes Motobecane Le Champion Team Ti

Shimano Dura Ace 9100 And 9150 Everything To Know Cyclingtips

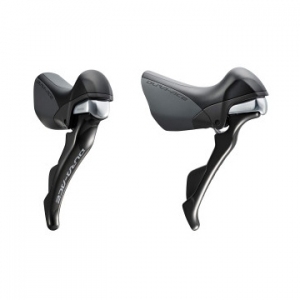
Shimano Dura Ace 9000 Shifting Brakes Overview Youtube

